


Okay, so you downloaded Blender. Good. That already puts you ahead of most people who talk about wanting to make 3D art and then never actually open the software. Blender is free, it is genuinely powerful (studios use this thing for real movies), and yes, it is also famously confusing the first time you open it and every single key on your keyboard suddenly seems to do something.
Take a breath. I have been doing this for years and I still remember staring at that default cube wondering why nothing made sense. Here is the guide I wish someone had given me. No fluff, no jargon dump, just what you actually need to know to stop feeling lost and start making things.
First, What Are You Even Looking At
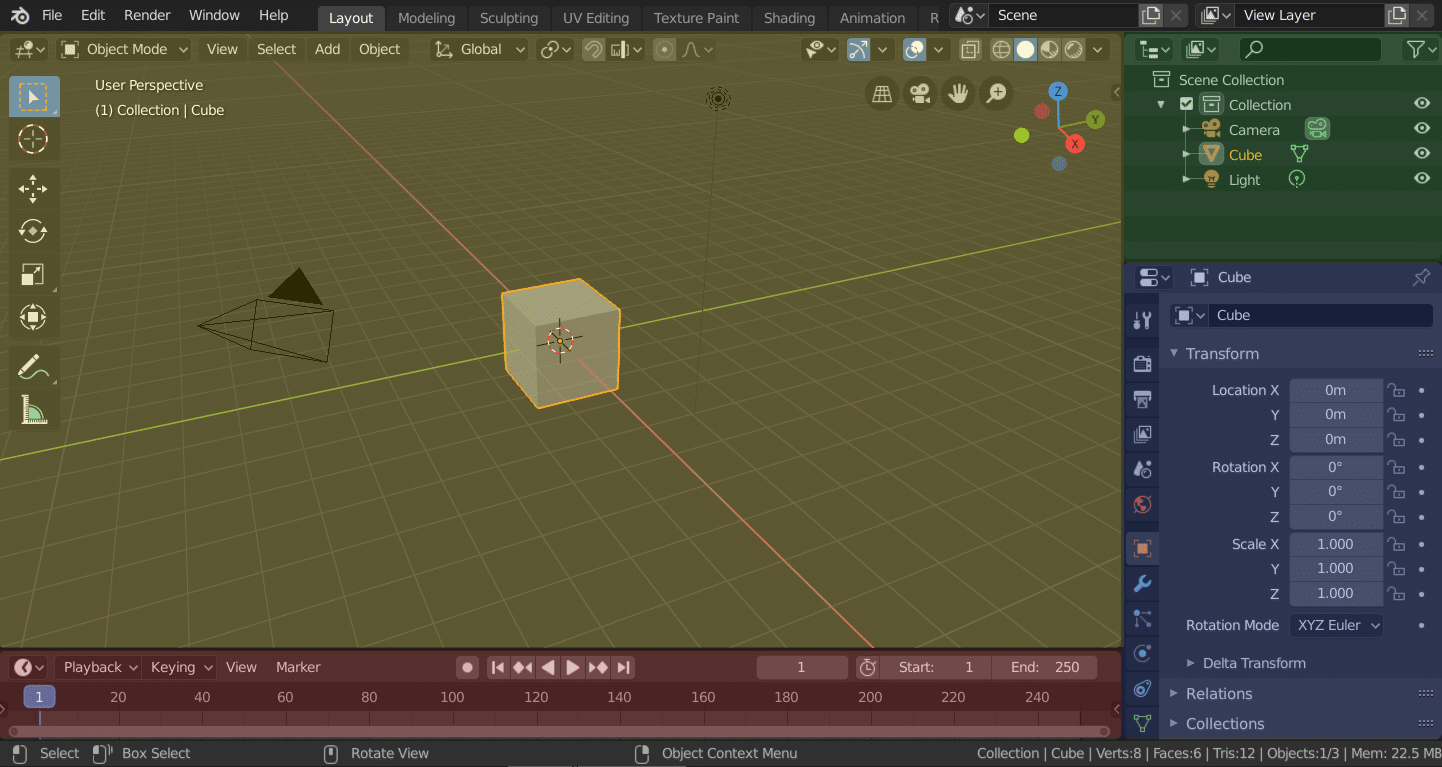
When you open Blender you get a gray cube sitting in the middle of a gray grid. That cube is not decoration. It is your canvas. Everything in Blender starts from manipulating shapes like this one, pushing and pulling and slicing them until they become a spaceship or a character or a coffee mug.
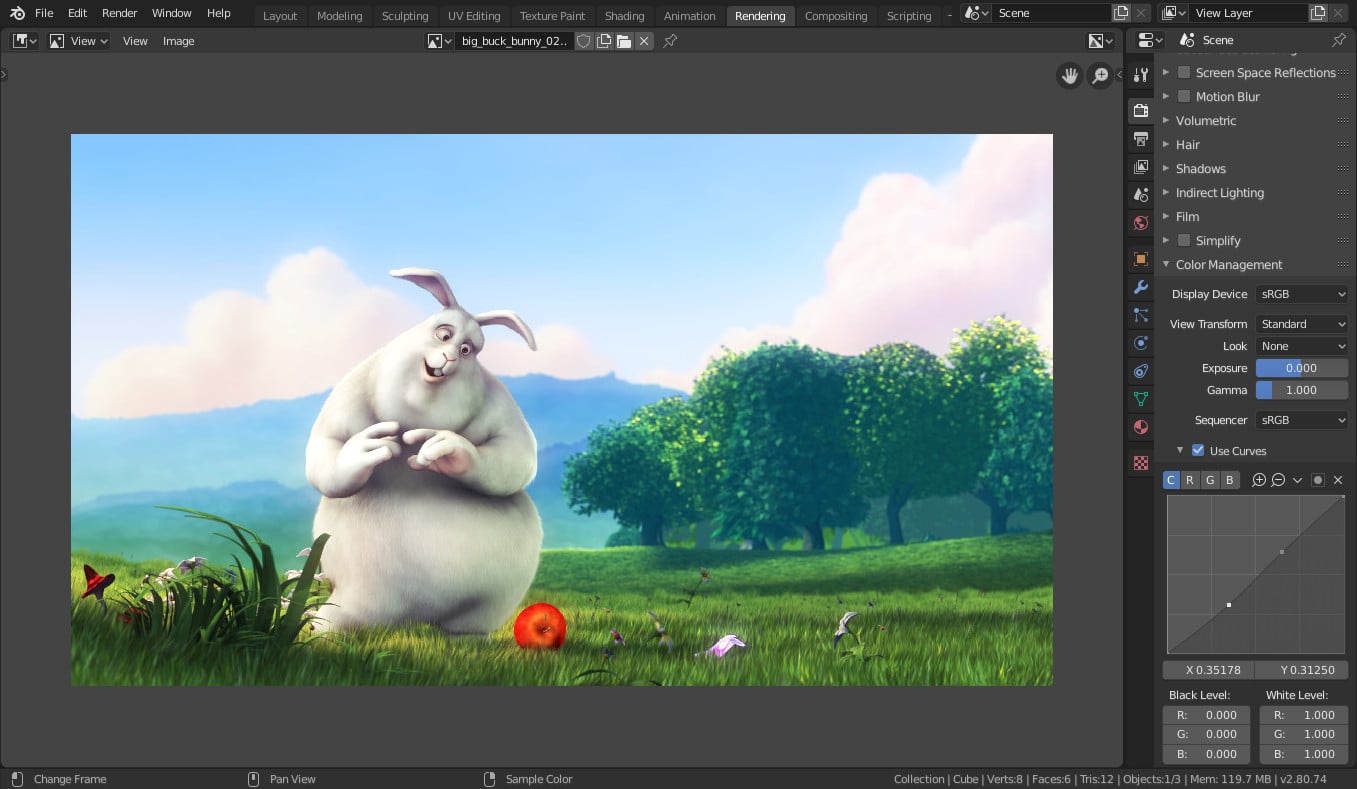
Around that cube you will notice a few key zones. The big area in the middle is the 3D Viewport, this is where all the actual work happens. Along the top there are tabs like Layout, Modeling, Sculpting, and so on, these are called Workspaces and they just rearrange the screen for different tasks. On the right side you have panels showing your Scene Collection (basically a list of every object in your project) and Properties (settings for whatever object you have selected). Down at the bottom is the Timeline, which matters once you start animating.
You do not need to memorize all of this today. Just know where things live so you are not hunting blindly later.
Learn to Move the Camera First
Before you touch a single shape, learn to navigate the 3D space, because nothing else matters if you cannot see what you are doing.
Middle mouse button, held down and dragged, rotates your view around the scene. Shift plus middle mouse button pans the view sideways and up and down. Scrolling the middle mouse wheel zooms in and out. If you do not have a mouse with a middle button (some trackpads are annoying about this) you can also hold Alt and left click drag to orbit, though the mouse method is genuinely better and worth investing in a cheap three button mouse for.
Numpad keys are your best friend for snapping to clean angles. Numpad 1 gives you the front view, Numpad 3 gives you the side view, Numpad 7 gives you the top view, and Numpad 0 drops you into camera view, seeing exactly what your render will look like. Adding Ctrl before any of those numbers flips you to the opposite angle, so Ctrl plus Numpad 1 shows you the back instead of the front.
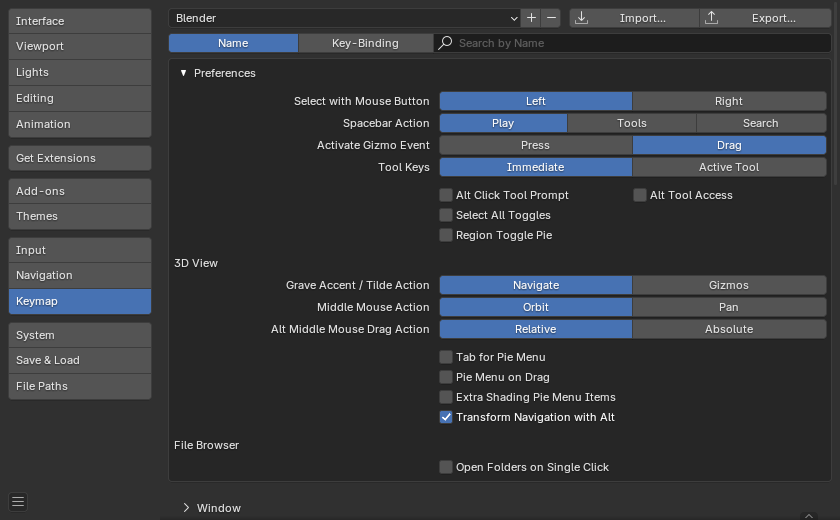
If your laptop does not have a numpad, go into Preferences, then Input, and turn on Emulate Numpad. This maps the same shortcuts to your regular number row, which saves a ton of frustration.
The Holy Trinity: Move, Rotate, Scale
Almost everything you do to an object boils down to three actions, and Blender gives each one a single letter shortcut that you will use constantly.
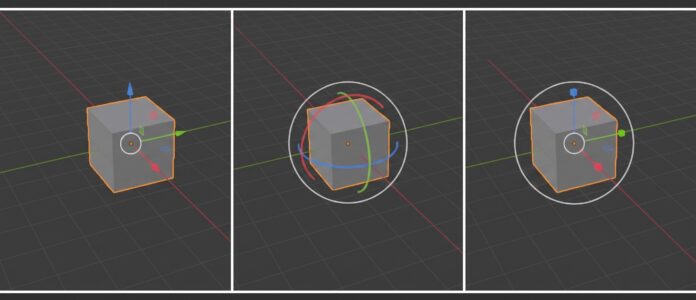
G moves an object. Think G for grab. Press G and then move your mouse and the object follows it.
R rotates an object. Press R and drag your mouse in a circular motion and the object spins.
S scales an object. Press S and move your mouse away from the object to make it bigger, or toward it to make it smaller.
Here is the part that turns beginners into people who actually look like they know what they are doing. After pressing G, R, or S, you can immediately tap a letter for X, Y, or Z to lock that movement to a single axis. So G then X moves the object only left and right along the X axis, nothing else. This one habit will save your models from becoming crooked messes.
You can also just type a number after locking an axis. G, then X, then type 2, then hit Enter moves the object exactly two units along X. No mouse required. It feels awkward for about a day and then becomes second nature.
Selecting Things Without Losing Your Mind
Left click selects a single object or a single point, depending on what mode you are in. Shift plus left click adds more things to your selection without deselecting what you already had. A (the letter, not a modifier) selects everything in the scene. Alt plus A deselects everything, which sounds small but you will use it constantly to reset and start fresh.
Box select, which is just clicking and dragging a rectangle with your left mouse button in most default setups, lets you grab a whole group of points or objects at once. This becomes essential once you start editing more complex shapes.
Object Mode Versus Edit Mode
This trips up basically every beginner at least once, so pay attention here. Blender has two main modes for working with a shape, and you switch between them with the Tab key.
Object Mode treats your cube (or sphere, or whatever) as one solid, whole thing. You can move it, rotate it, scale it, but you cannot reshape its individual parts.
Edit Mode lets you get inside the object and manipulate its actual geometry, meaning its vertices (points), edges (lines connecting points), and faces (the flat surfaces between edges). This is where actual modeling happens, turning a boring cube into something interesting.
Press Tab while an object is selected to jump into Edit Mode, and press Tab again to pop back out to Object Mode. Once inside Edit Mode, press 1 to switch to vertex selection, 2 for edge selection, and 3 for face selection. These numbers matter a lot because different tools behave differently depending on which one you have active.
Extrude, the Move That Builds Everything
If G, R, and S are the trinity for moving whole shapes, Extrude is the move that actually creates new geometry, and it is arguably the single most important tool in all of modeling.
While in Edit Mode, select a face (or edge, or vertex) and press E. This pulls a brand new copy of that geometry out from the original, connected by fresh faces, essentially letting you grow your model outward. Building a building from a flat plane, growing fingers off a hand shape, pulling a spout off a teapot body, all of this is extrude, over and over, in slightly different combinations.
Like G, R, and S, you can lock extrude to an axis by tapping X, Y, or Z right after pressing E, and you can type an exact number too.
A Few More Shortcuts Worth Tattooing on Your Brain
Ctrl plus R activates Loop Cut, which adds an evenly spaced ring of new edges around your shape, giving you more detail to work with. This is essential once your models need more definition than a basic cube offers.
Ctrl plus Z is undo, and yes it works exactly like everywhere else, but Blender’s undo history is deep and forgiving, so do not be afraid to experiment and back out of a mistake.
Shift plus D duplicates whatever you have selected, dropping an exact copy right where the original sits, ready to be moved away.
Ctrl plus left click, while in Edit Mode with a version of the knife or similar tools active, lets you cut new geometry directly into a shape.
X, when something is selected, opens a delete menu, letting you choose whether to delete just the selected vertices, the edges, or the whole faces, which matters more than it sounds because deleting the wrong one can leave weird holes in your mesh.
N opens a side panel showing exact numeric values for position, rotation, and scale of whatever you have selected. Genuinely useful when eyeballing it with the mouse is not precise enough.
Adding New Shapes to Your Scene
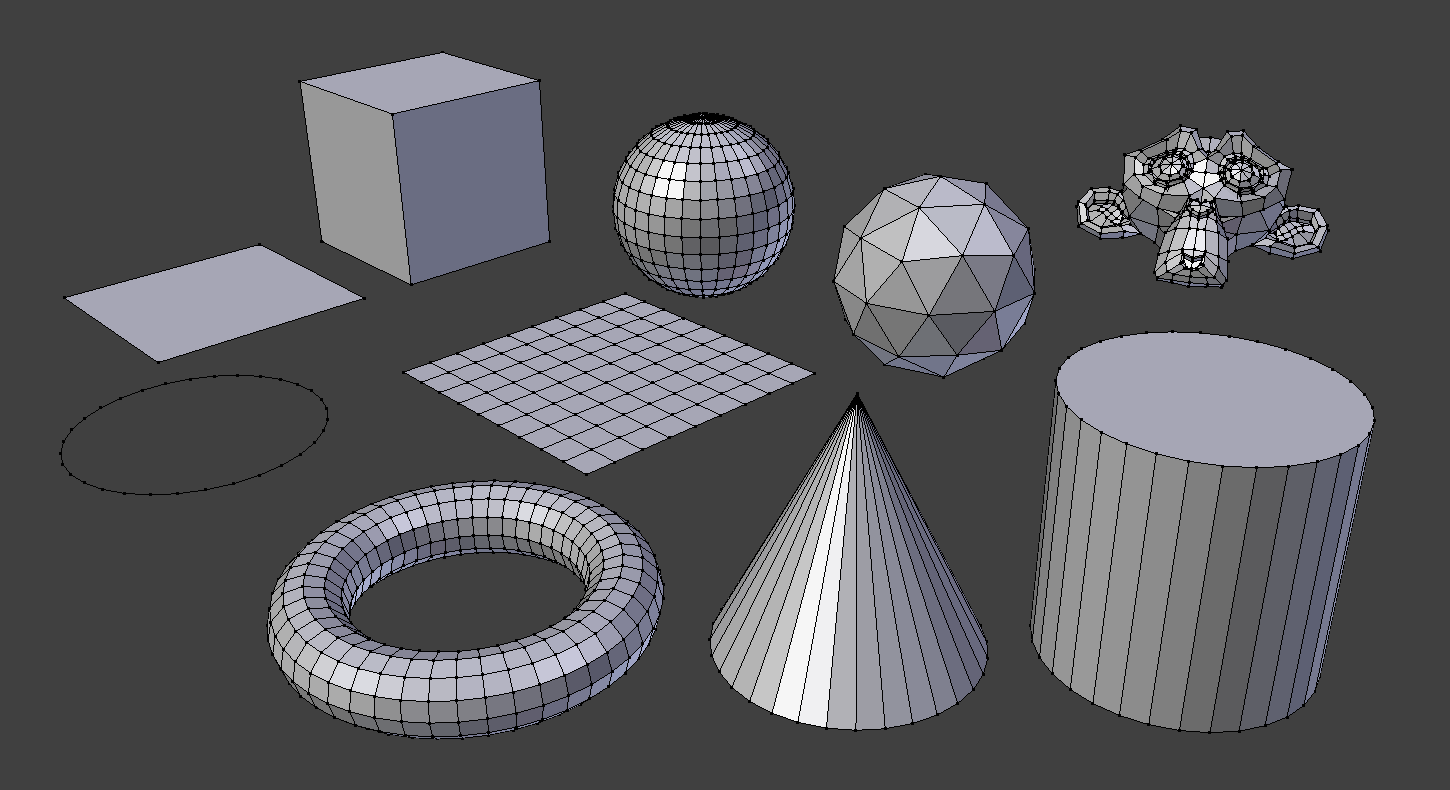
Shift plus A opens the Add menu, letting you bring in new meshes like cylinders, spheres, cones, or even lights and cameras. Everything in Blender starts life as a fairly simple shape before you sculpt it into something more specific, so get comfortable reaching for this menu constantly.
Tips From Someone Who Has Made a Lot of Bad Models
Save constantly, and save new versions instead of overwriting the same file every time. Blender crashes occasionally like any complex software, and there is nothing worse than losing three hours of work because you never hit Ctrl plus S. Turn on the auto save feature in Preferences too, it genuinely saves people’s sanity.
Work with reference images. Even professional artists pull up photos of the thing they are modeling before they start. Nobody sculpts a realistic hand from pure memory, and neither should you.
Do not chase perfection on your first ten projects. Your early models are supposed to look a little rough. Every artist you admire has an embarrassing folder of early work they never show anyone. That folder is not a failure, it is the actual process.
Learn the shortcuts slowly, a few at a time, instead of trying to memorize this entire guide in one sitting. Muscle memory builds through repetition, not through reading a list once. Open Blender, mess with G, R, S, and Tab for twenty minutes today, and that alone will already make tomorrow easier.
Watch how the pros use the viewport, not just the tools. A lot of what separates confident Blender users from frustrated beginners is comfort moving the camera around fluidly, without thinking about it. That comfort only comes from time in the seat.
And finally, follow along with actual video tutorials once you have this foundation. Reading about hotkeys only gets you so far, seeing someone’s hands (well, cursor) move through a real project will click things into place that text alone cannot.
Where to Go From Here
Once G, R, S, Tab, and Extrude feel natural, you are genuinely ready to start following along with real beginner projects like modeling a simple mug, a low poly tree, or a donut (the donut tutorial by Blender Guru is a rite of passage for a reason, everyone starts there). You now have the actual foundation those tutorials assume you already know, so instead of getting lost in the shortcuts, you can focus on the fun part, actually building something.
Blender rewards patience more than talent early on. Stick with it for a few weeks and the interface that feels alien right now will start to feel like an extension of your own hands.
