
Adobe Lightroom Classic has just released a new update that introduces a range of AI-powered photo editing features, designed to help photographers elevate their work to new heights. With this latest release, Lightroom Classic has made it easier than ever to achieve professional-quality results in a fraction of the time.
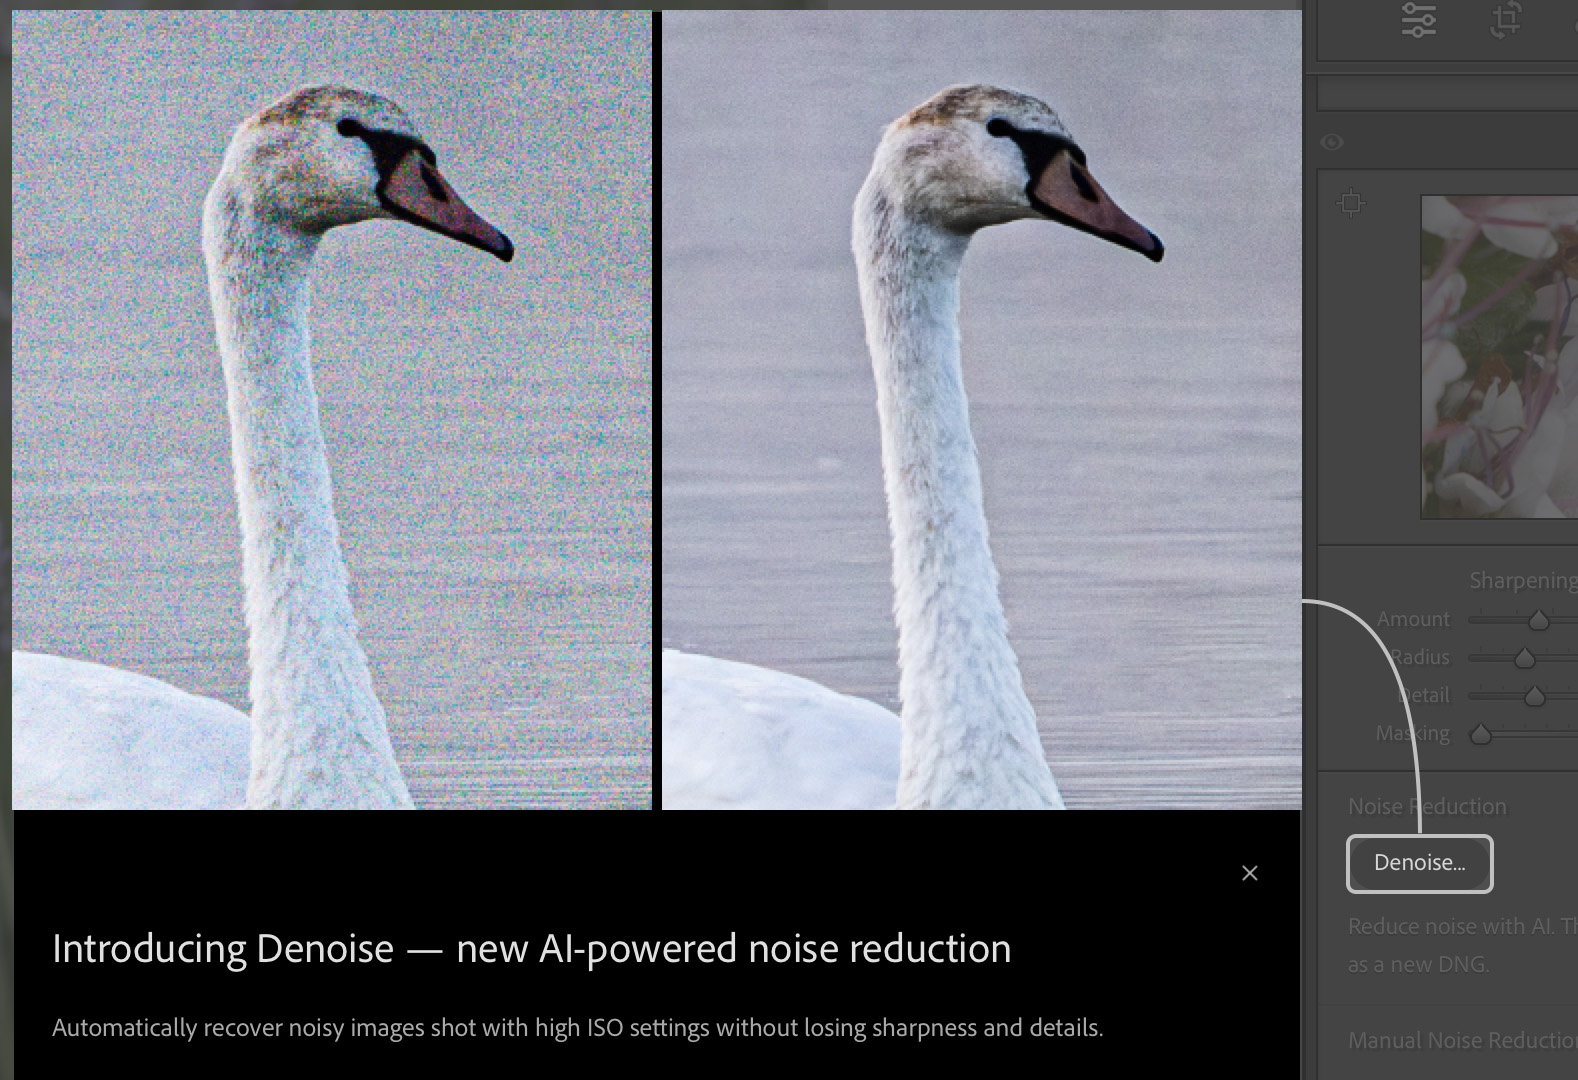
One of the standout features of the new update is AI-powered Denoise, which allows users to easily and effectively remove noise from their RAW images while preserving their fine details. This feature uses cutting-edge AI technology to analyze and remove unwanted noise from your photos, so you can achieve a cleaner, sharper look with ease.
In addition to Denoise, the People mask feature has also received a significant update, allowing for automatic selection of Facial Hair, Clothes, and more. Furthermore, the Masking capability now supports Curve for even more precise local adjustments, resulting in sharper and more polished images.
The new update also makes it easier for users to keep track of the tools used to make changes on their images, with the addition of eye and edit indicators. With just a glance, users can now see which tools have been used on their photos, making it easier to achieve consistent results across multiple images.
Furthermore, Lightroom Classic now supports newer versions of Adobe Photoshop, allowing users to import layers as smart objects for even more creative flexibility. And if you’re looking for the latest camera and lens support, you can find newly added models in the full list of supported profiles.
Adobe Lightroom Classic Tutorial:
Lightroom Classic’s AI-powered Denoise feature now allows for efficient removal of noise from Bayer or X-Trans RAW images, while retaining all the finer details.
1 To access Denoise, either select “Enhance” under “Photo” from the menu or choose “Denoise” within the “Detail” panel.
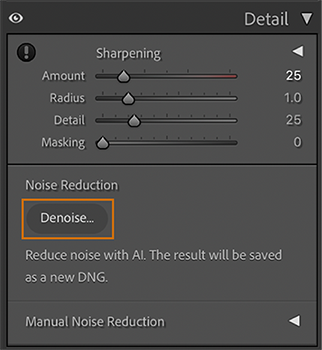
2 Clicking on “Denoise” in the Detail panel will enhance your image. By holding down Alt or Option while selecting Denoise, you can set the intensity of the slider to the last amount value used.

3 Enhance the quality of your image by adjusting the Denoise slider to the desired intensity level.
4 To view the changes made to your image, simply press and hold on to the preview area.
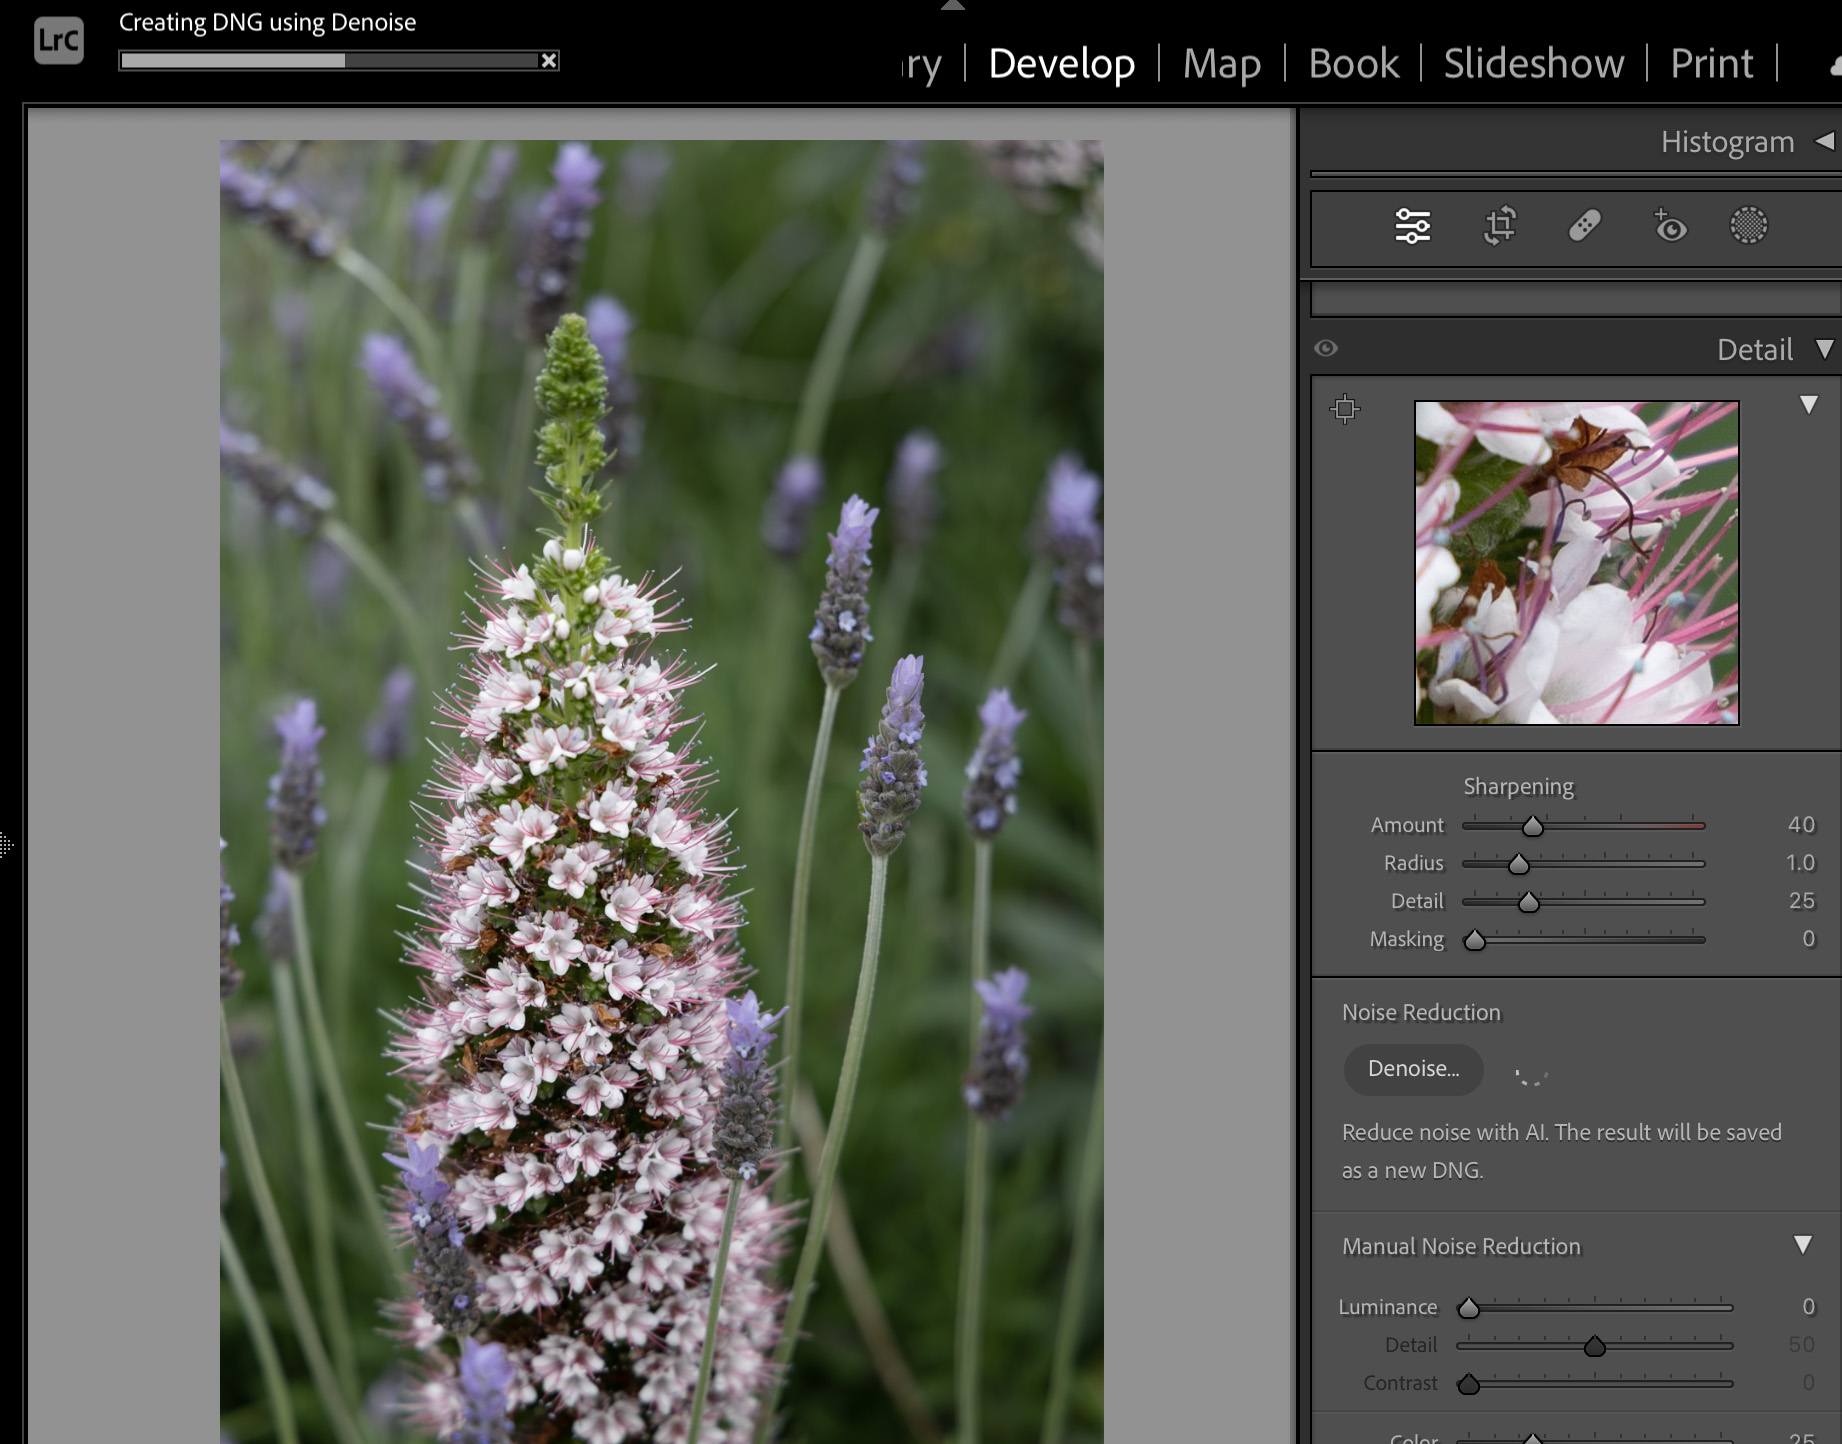
5 After processing your image, click “Enhance” to save it as a new DNG file. The enhanced image will be named in the format of “<Original filename-Enhance-NR.DNG>” and will be located next to the original image.
In Grid and Filmstrip views, enhanced images will display a badge for easy identification. To view the settings used, check the History step labeled “Enhance-NR-<amount>(timestamp)”. Automatically add keywords to images enhanced with Denoise, Raw Details, and Super Resolution by going to Edit > Preferences and selecting the File Handling tab. Then, check the box labeled “Automatically add keywords to Enhanced images” and click OK to apply the changes.
Please take note of the following:
- Denoise is compatible only with Bayer and X-Trans RAW images.
- For best results, we advise using Denoise before applying other tools, such as AI masks and Content-Aware, as using Enhance may affect the outcome of these tools.
- Once an image has been enhanced with Denoise or Super Resolution, it cannot be enhanced again. However, Raw Details DNGs that have been enhanced can still be processed with Denoise.
- Enhancing images using Denoise may be GPU intensive, thus a faster GPU is recommended for quicker processing.
Achieve precise and crisp edits with Lightroom Classic’s new Masking features. With the latest update, People Mask now includes an automatic selection for Facial Hair, Clothes, and more. Moreover, Masking now supports Curve, enabling you to make sharper local adjustments.
1 To begin editing an image, navigate to the Develop module and open the desired photo.
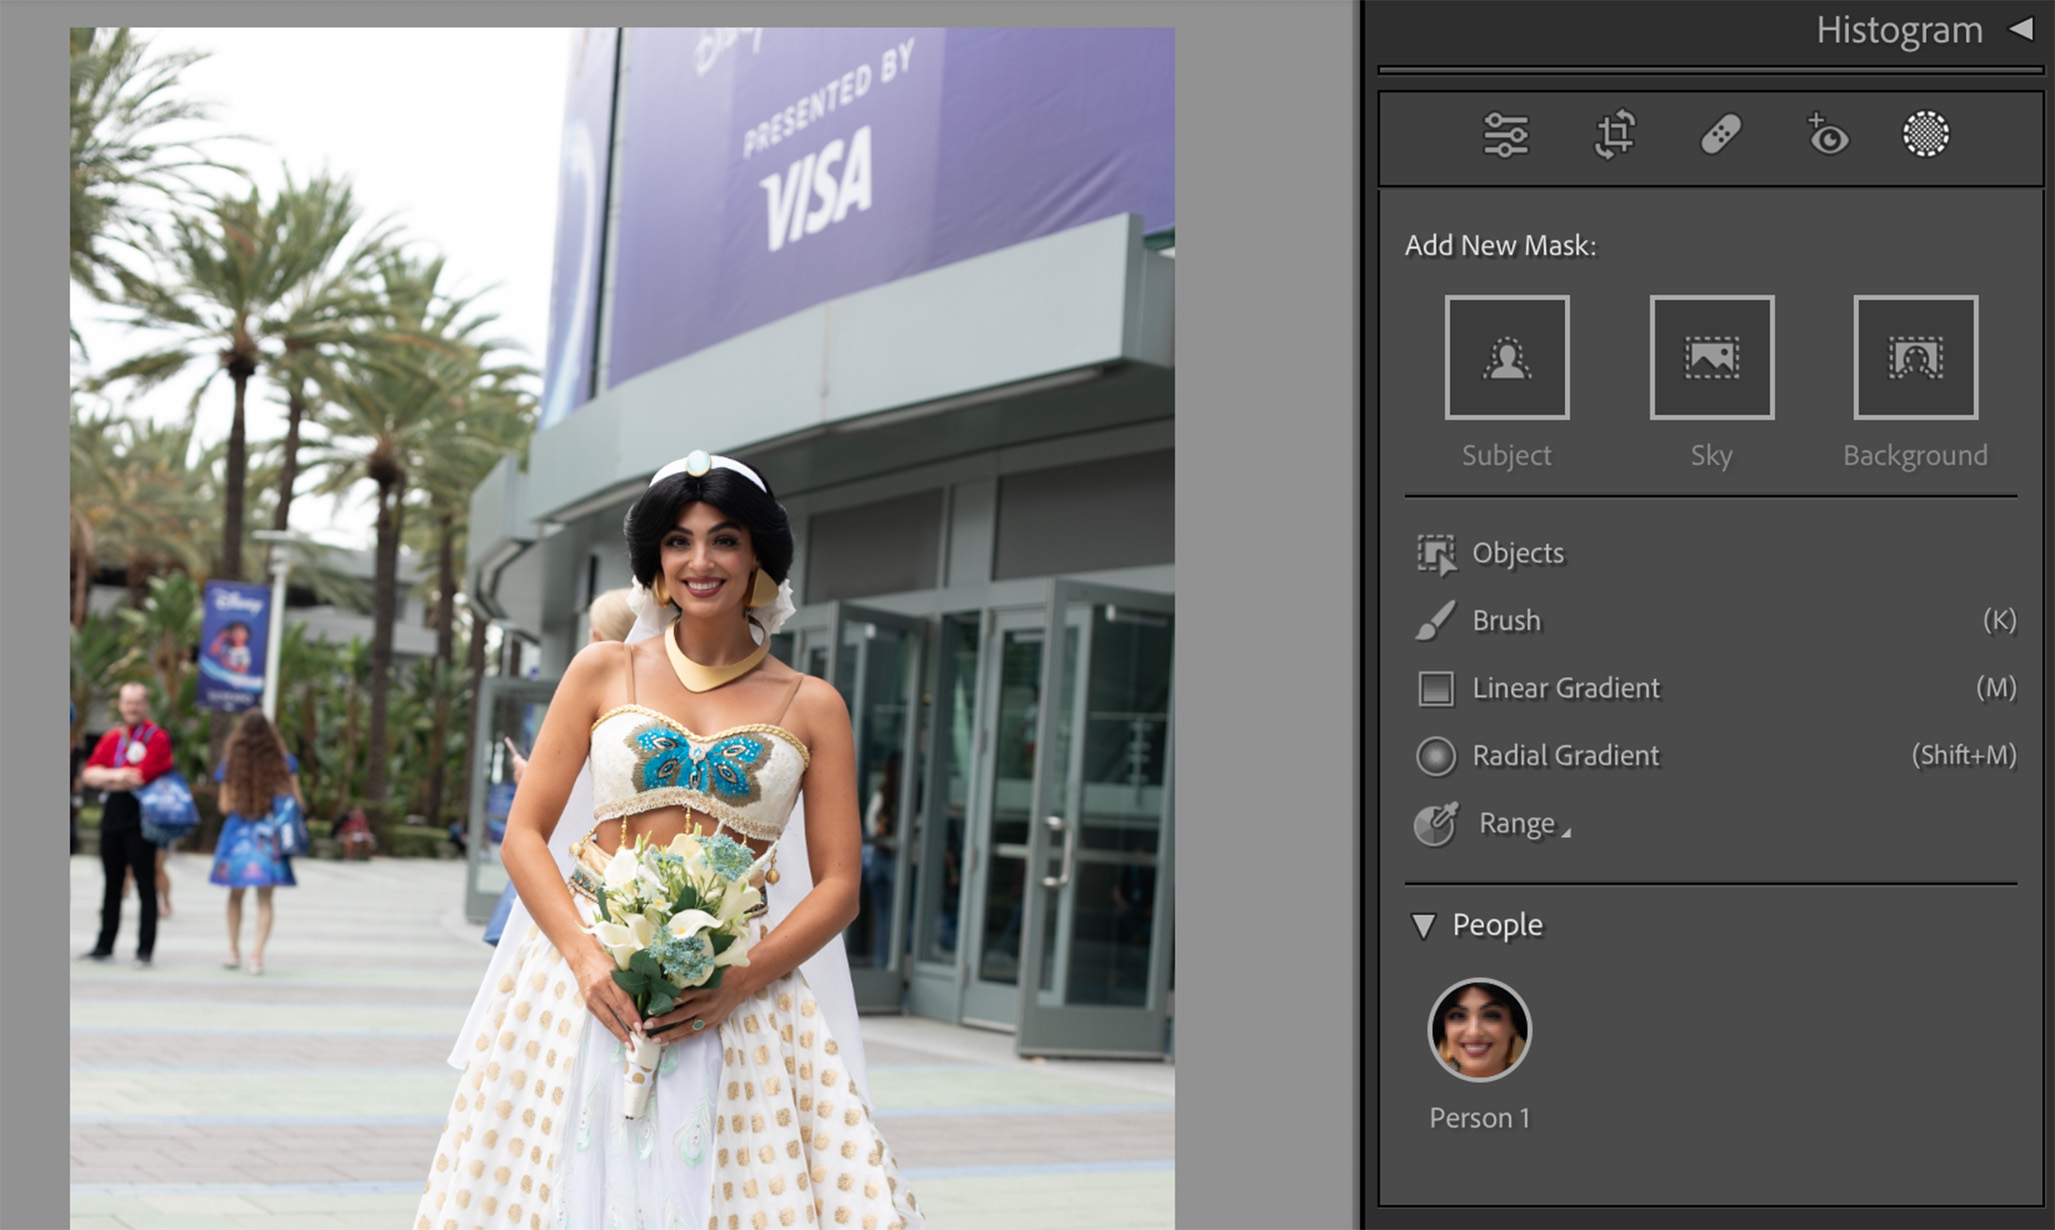
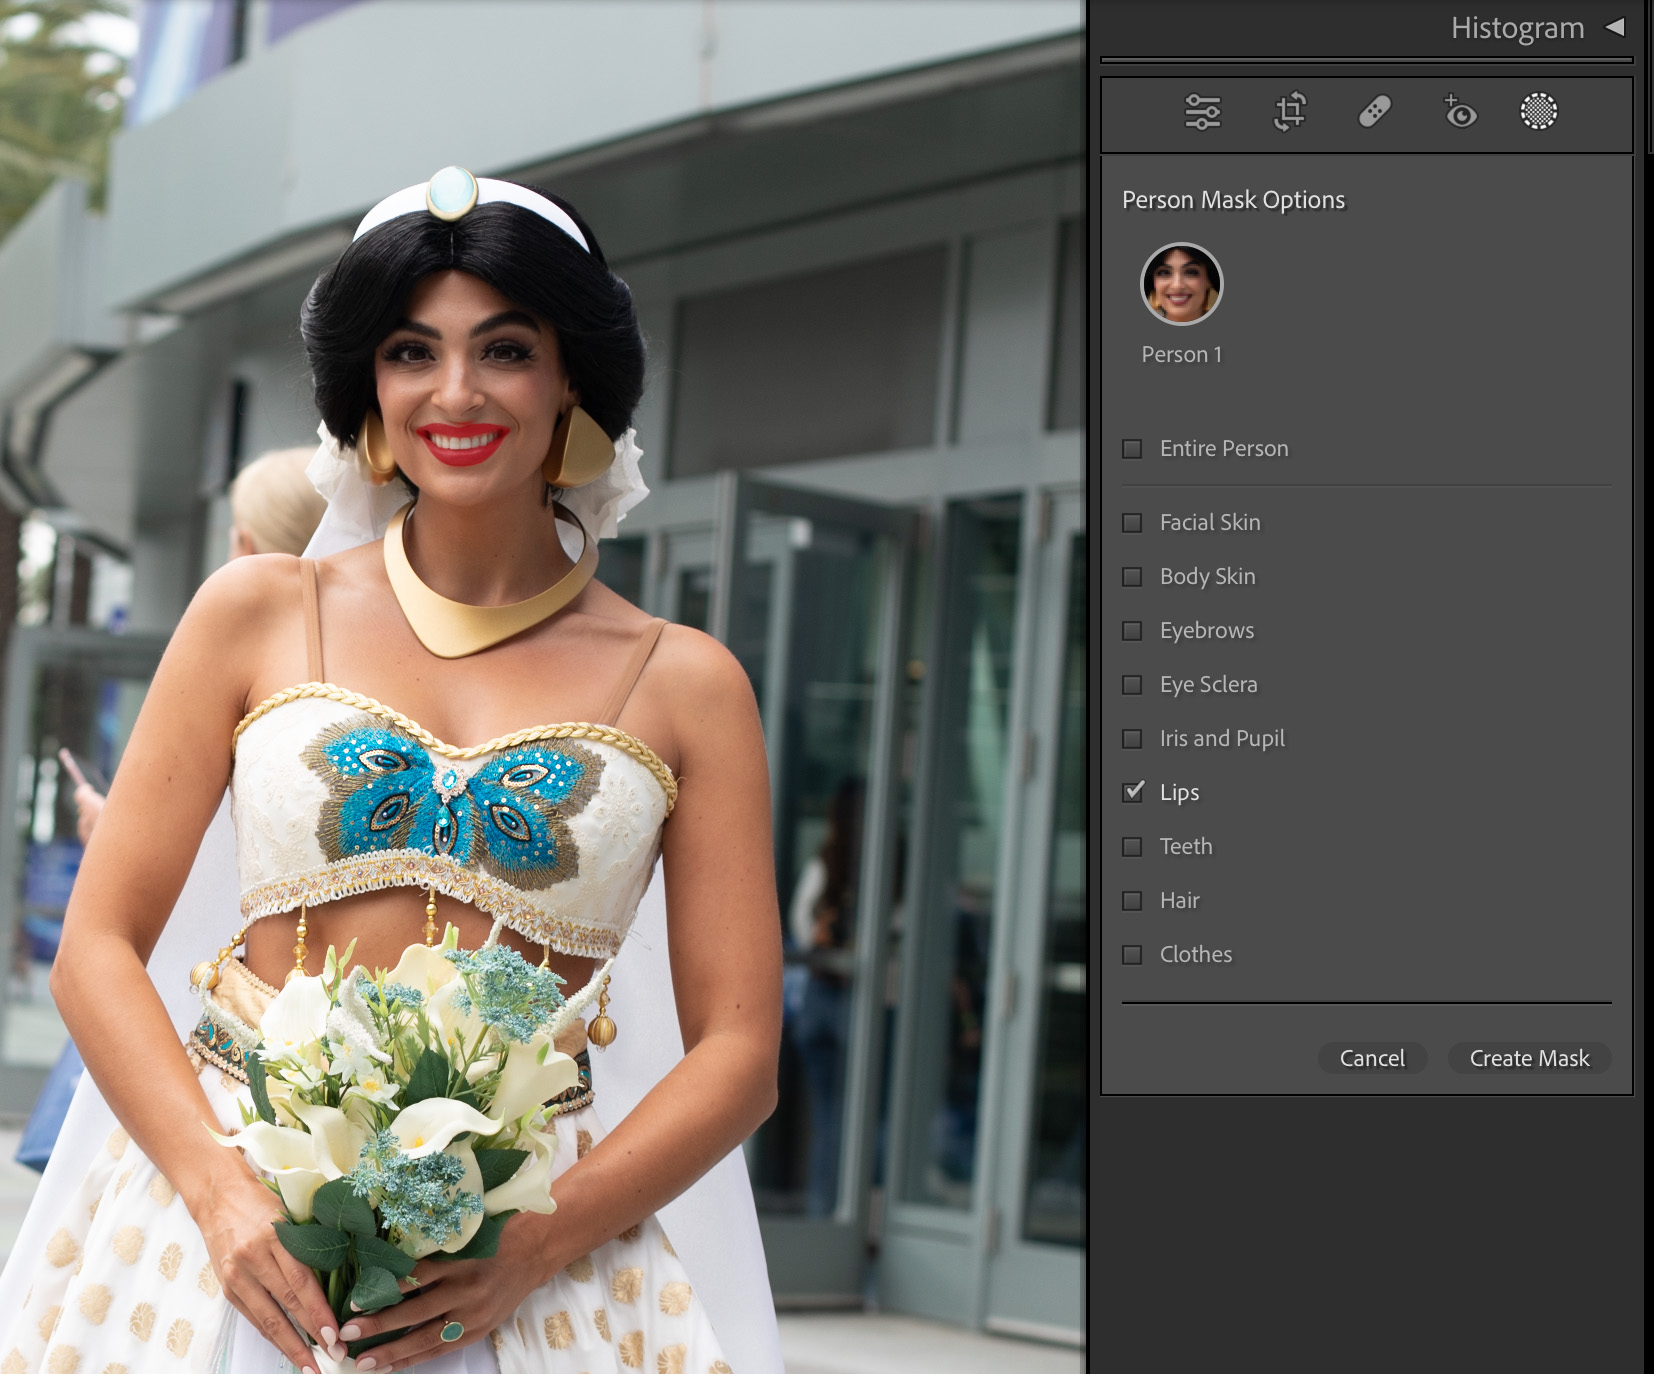
2 Choose the People option under Masking. This will display thumbnails of all the individuals present in the photo within the People panel.
3 Lightroom Classic utilizes automatic detection to create masks for all people in the photo. You can simply choose the individual you want to edit from the People panel and then use the Facial Hair or Clothes options to make adjustments specific to that person.
4 For additional editing flexibility, you can open the mask in the Masks panel and select Add or Subtract to refine the mask according to your specific editing needs.
5 Make the desired adjustments to your photo by using the editing sliders located in the right panel.
With the addition of Curve support, Masking now allows for precise local edits that won’t impact the rest of your image.
1 To begin editing an image, open it in the Develop module.
2 To create a new mask on an image, select the Masking tool from the toolbar and then click on “Create New Mask” on the image. This will allow you to make selective edits to specific parts of the image without affecting the rest.
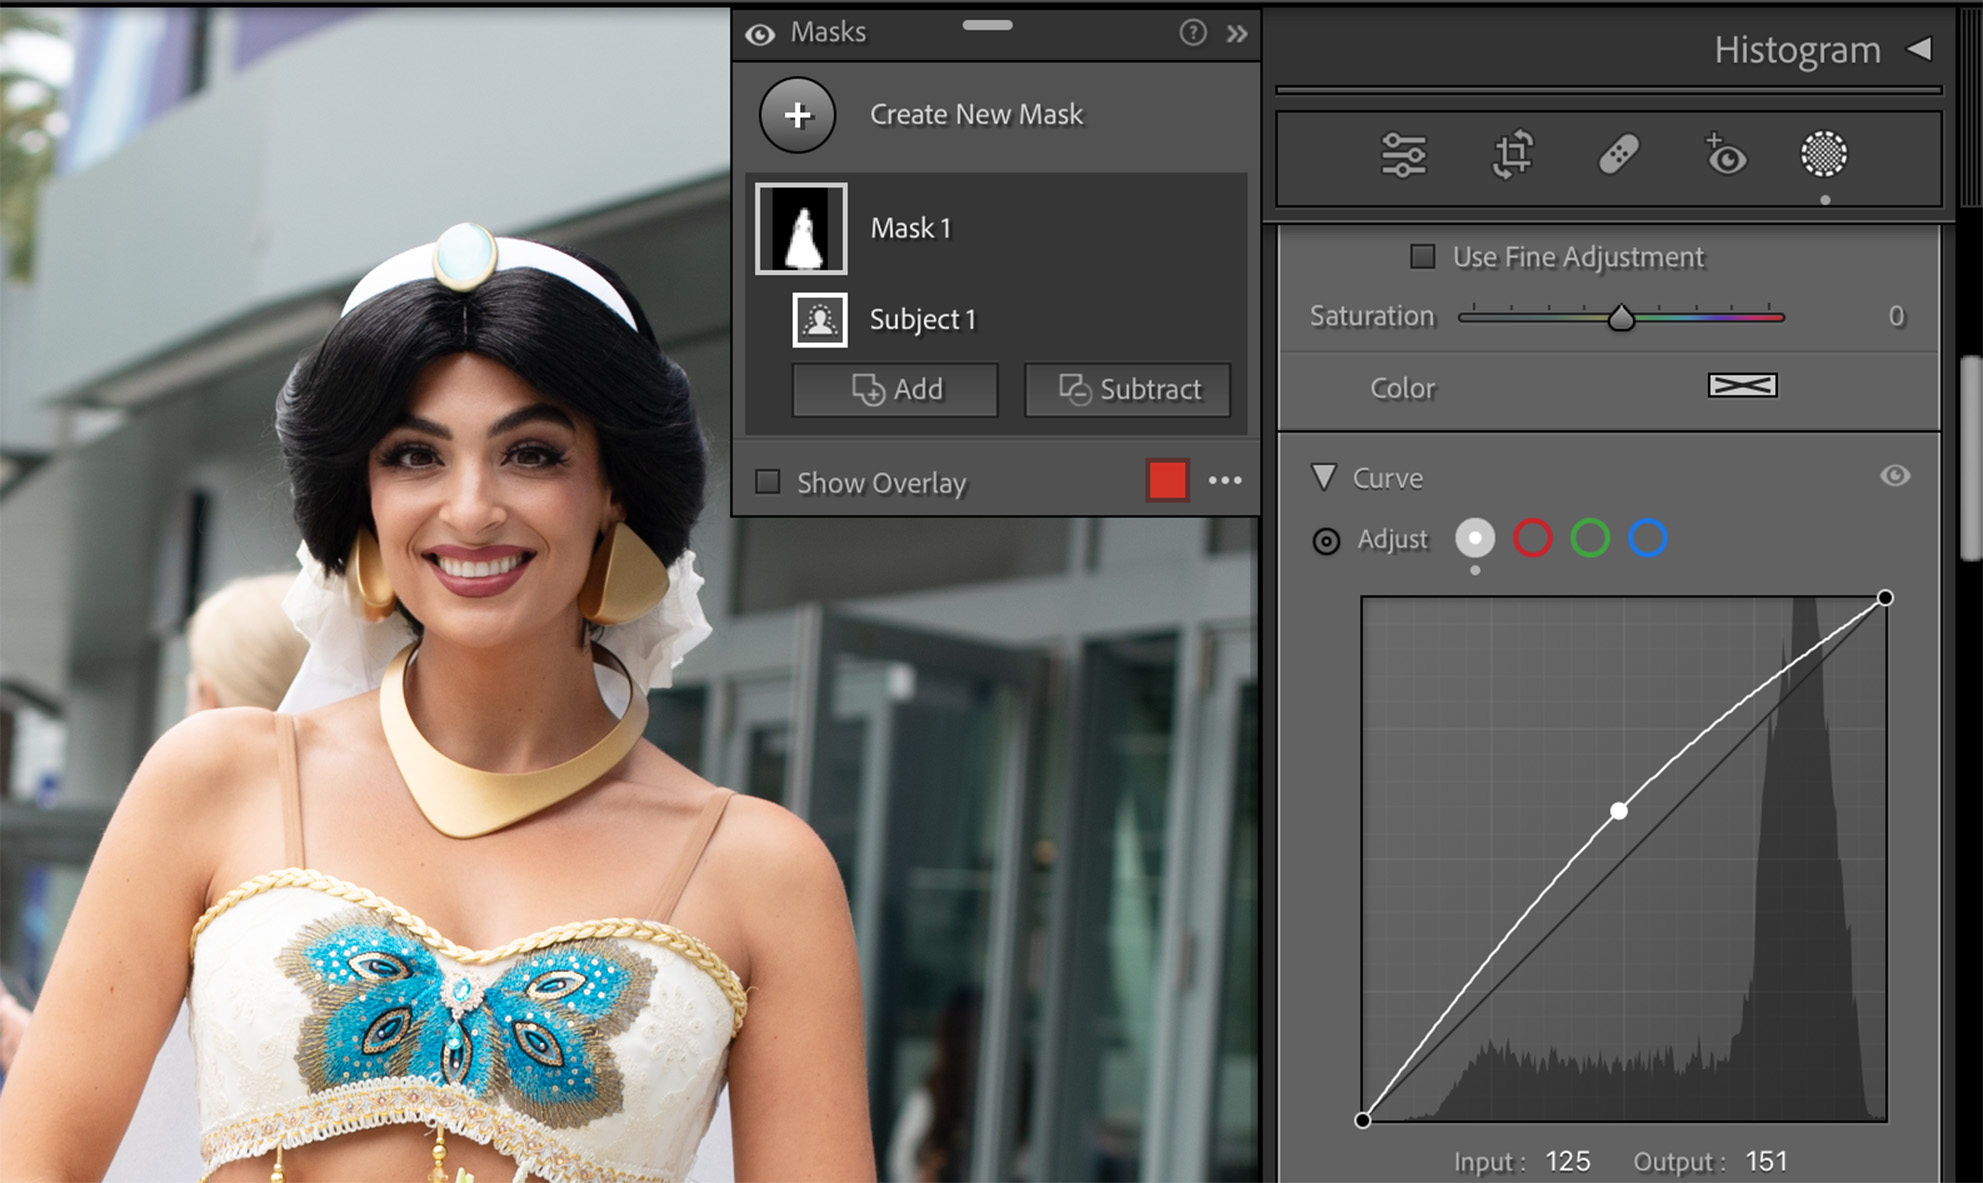
3 In the Masking section, choose the option for Curve.
4 To make local enhancements to an image, select the Curve option in the Masking section and use it to make adjustments. The local Histogram displays the values for the adjustments made to the masked area.
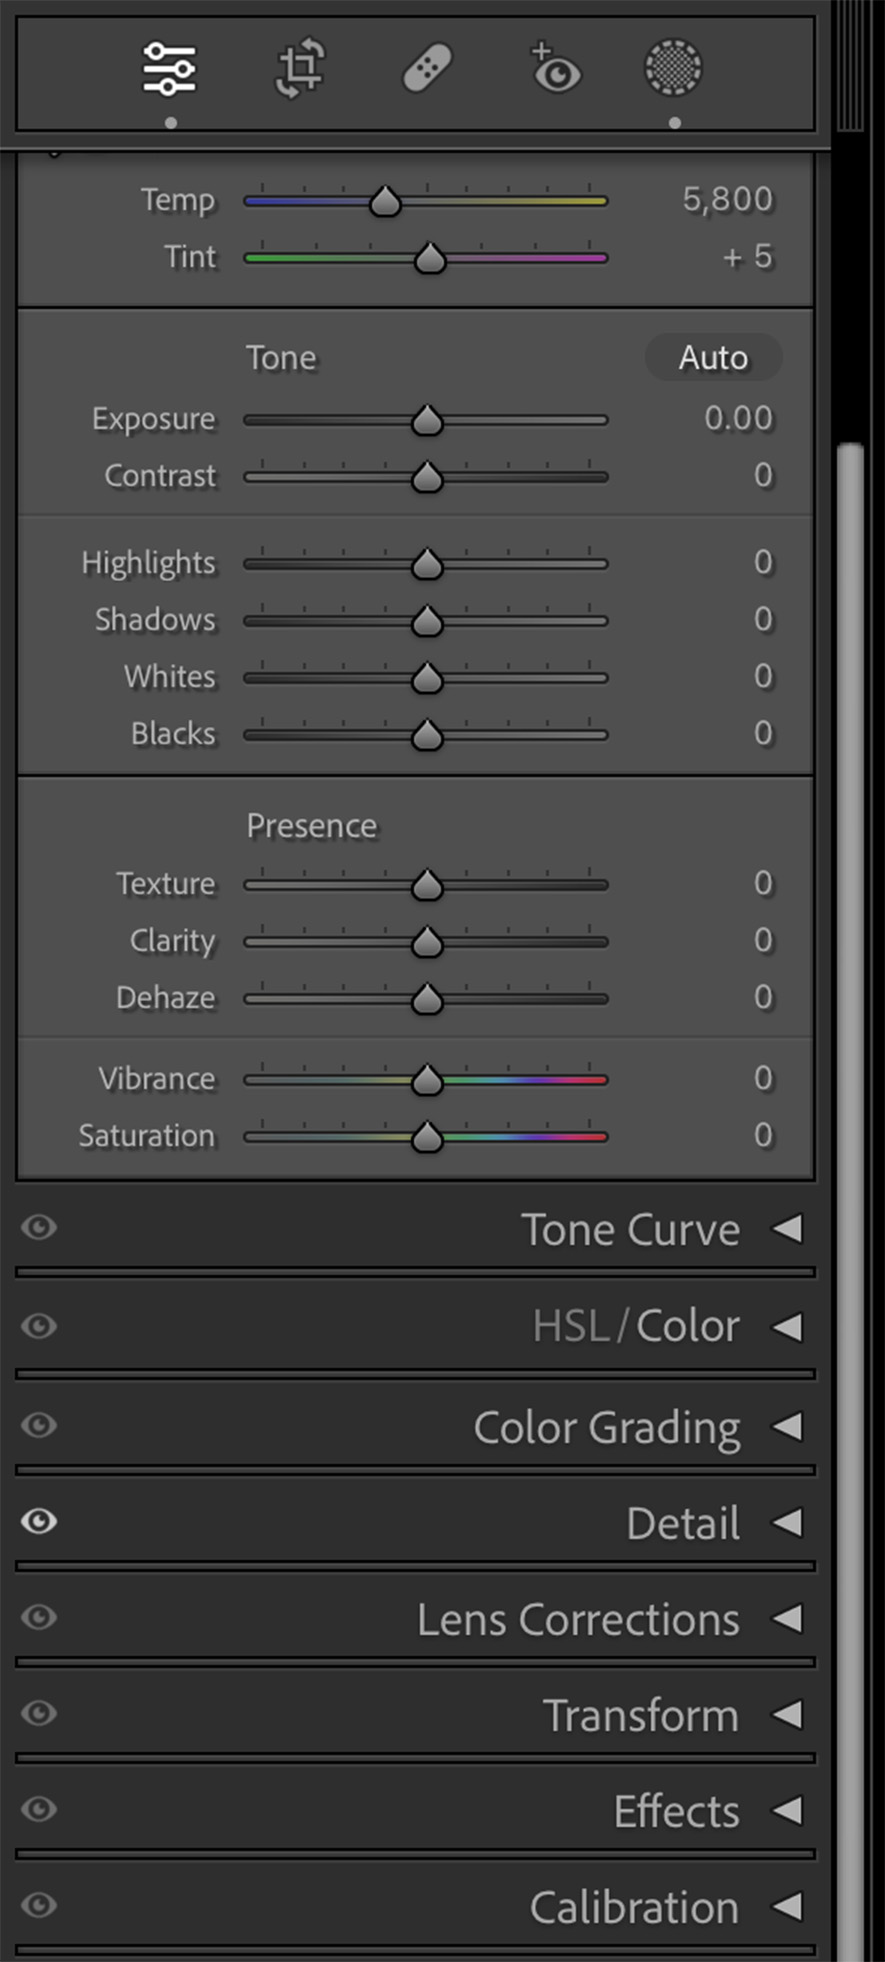
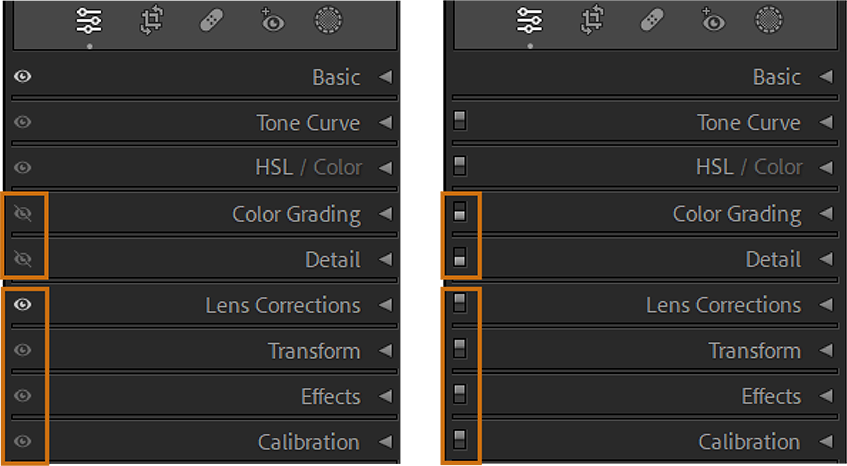
Easily keep track of the tools used to edit your images with the updated panels in the Develop module. An eye indicator has been added to all Edit panels, Healing, Redeye, and Masking tools, allowing you to quickly view any changes made to an image. The eye indicator will change color to indicate if a panel is used, and a dot will appear on the tool strip under the tool used.
You can turn off a panel by holding Alt on Windows or Option on macOS to reveal panel switches, which also allow you to reset an edit within the panel. Note that a red dot will appear under Healing when Content-Aware Remove spots need an update, and under Masking if an AI mask needs to be refreshed.
Edit in Photoshop
Lightroom Classic offers various options for editing photos in Adobe Photoshop. You can open your photo as it is, or as a Smart Object, or as Smart Object Layers in Photoshop. You can also merge multiple shots to create a panorama, HDR, or combine two or more photos as a layered image in Photoshop. After making edits, when you save the photo in Photoshop, Lightroom Classic will automatically import the updated photo to its catalog.
1 To access the preferences in Lightroom Classic, go to Edit on Windows or Lightroom Classic on macOS and select Preferences or Settings.
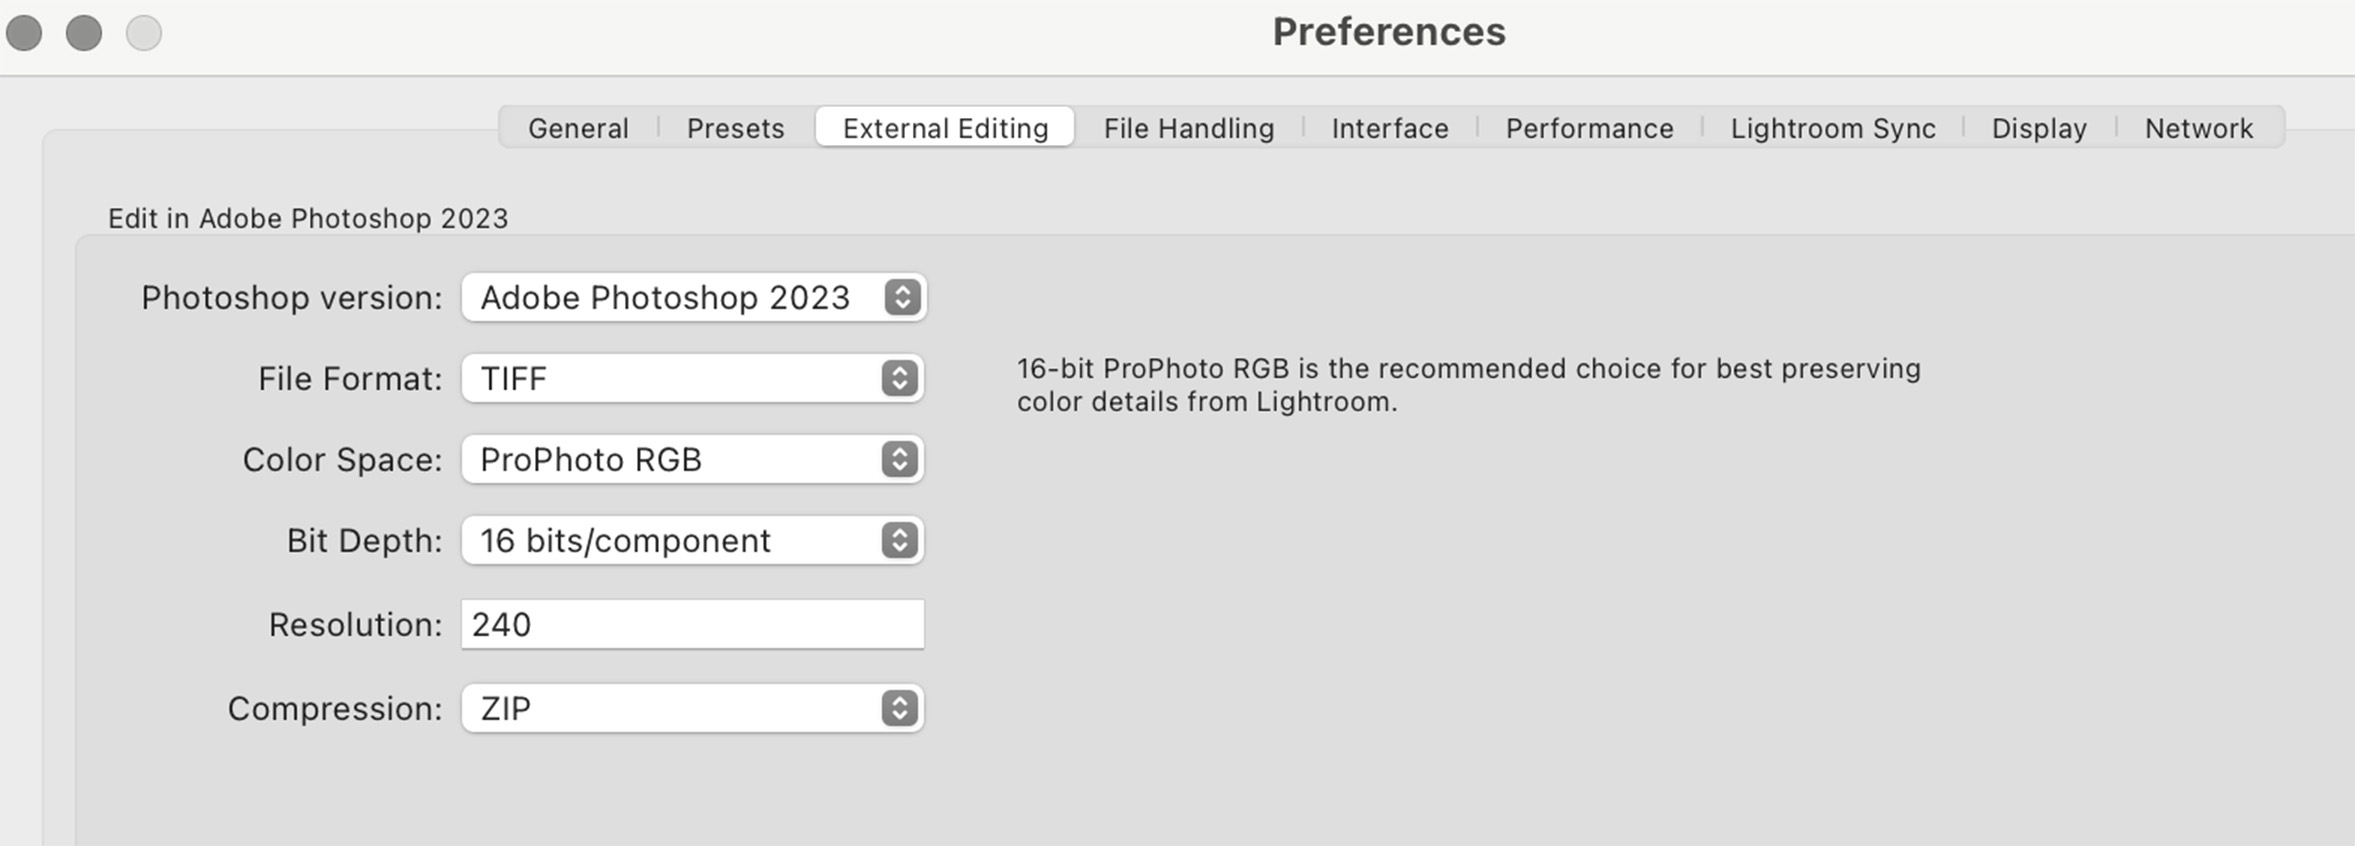
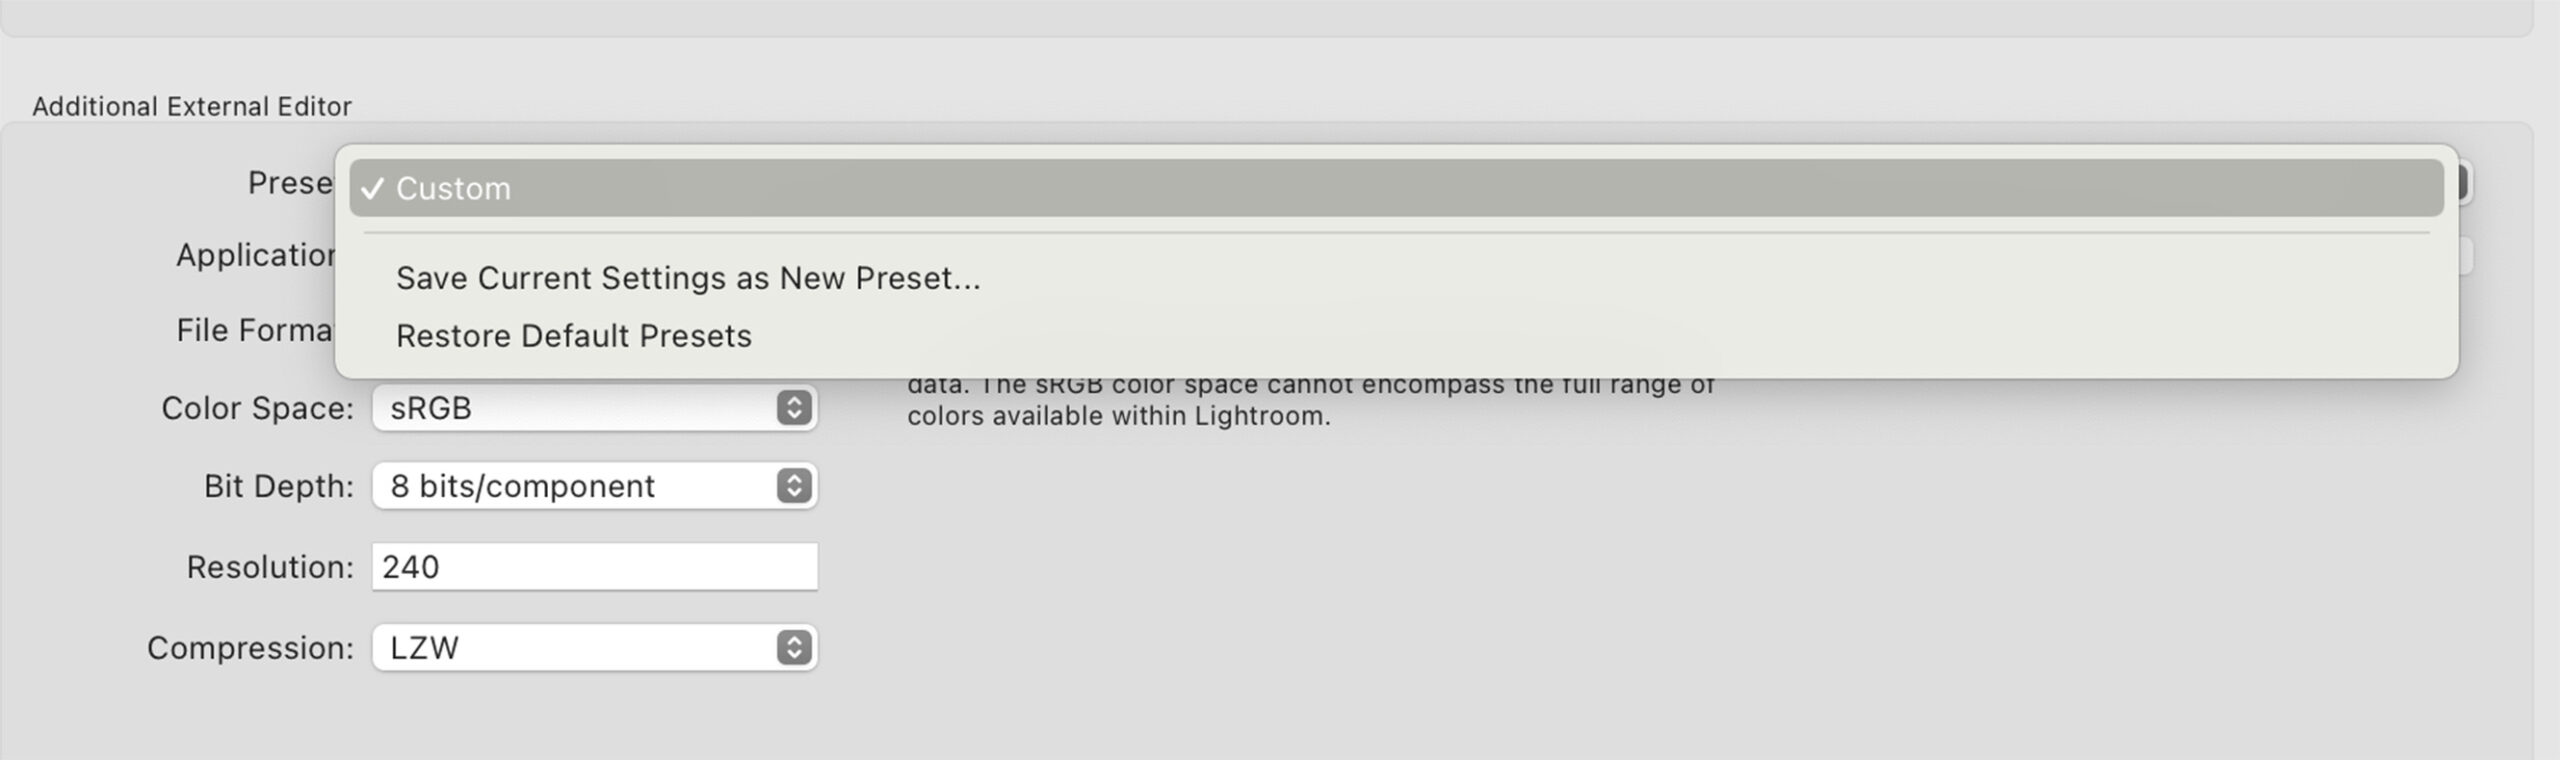
2 To access the settings for external editing in Lightroom Classic, navigate to the Preferences menu by selecting Edit > Preferences (Windows) or Lightroom Classic > Preferences (macOS). Once there, choose the External Editing tab. If Adobe Photoshop is already installed on your computer, it will appear as the default external editor. With the latest version of Lightroom Classic (version 12.3), you can now choose which specific version of Photoshop you want to use to edit your photos. If you prefer to use another external editor, you can select Application > Choose in the Additional External Editor section to choose a different application.
In summary, Lightroom Classic’s latest update offers a range of new features and functionalities that are sure to delight both amateur and professional photographers alike. With AI-powered Denoise, automatic selection in People mask, support for smart objects, and more, this update is a must-have for anyone looking to take their photo editing game to the next level. Be sure to try it out and see the difference for yourself!